How to setup FluentValidation in a .NET Web Api

By: Luc Dec 21 2023 8 minutes read.
The author is available for employment.

Should you or your company interested, please check out my resume for further contact information.

Remote positions only, based in Spain.

🔧 This article assumes you areusing a modern version of .NET and C#, I am using .NET 8.

🧑‍💻 This article assumes you have intermediate experience with the command line.

Setting up a new Web Api

First launch a new console, I am using Windows Terminal with bash inside WSL. But anything works, really.

dotnet new webapi --use-controllers -o TodoApi
code TodoApi

This will launch Visual Studio code on the new created project.
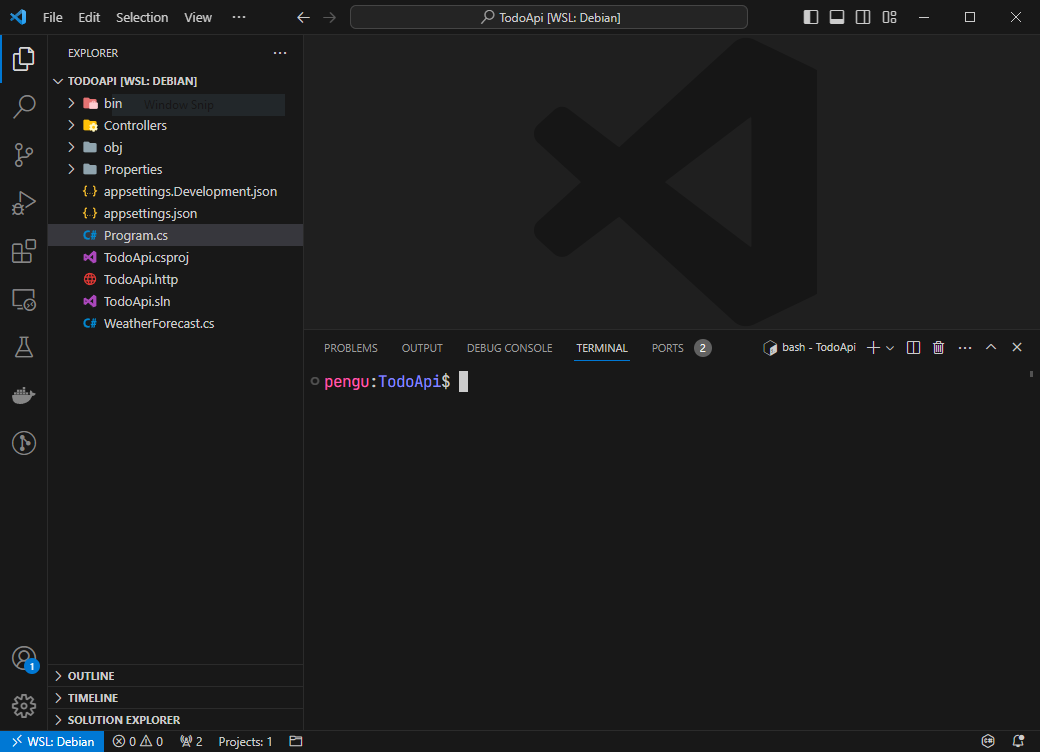
Visual Studio code opening the newly createad project

As you might see in our command line code, we are gonna use SQLite for this example program.

Open the integrated terminal, and start installing packages:

dotnet add package Microsoft.EntityFrameworkCore
dotnet add package Microsoft.EntityFrameworkCore.Design
dotnet add package Microsoft.EntityFrameworkCore.Sqlite
dotnet add package FluentValidation
dotnet add package SharpGrip.FluentValidation.AutoValidation.Mvc

This adds FluentValidation itself and a newly created package from SharpGrid that makes ASP.Net use the validators automatically, check out their Github for more information.

Let’s continue setting up Entity Framework Core with SQLite.

mkdir Models
touch Models/TodoItem.cs

Open the newly created file TodoItem.cs in VSCode and write the following code:

namespace TodoApi.Models;

public class TodoItem
{
    public long Id { get; set; }
    public string? Name { get; set; }
    public bool IsComplete { get; set; }
}

Setting up the database context

Let’s create a DataContext.cs file in the Models folder.

touch Models/DataContext.cs

Write the following code:

using Microsoft.EntityFrameworkCore;

namespace TodoApi.Models;

public class DataContext(DbContextOptions<DataContext> options) : DbContext(options)
{
    public DbSet<TodoItem> TodoItems { get; set; } = null!;
}

Now we need to make use of dependecy injection to register the DataContext class.

Update Program.cs with the following code:

using Microsoft.EntityFrameworkCore;
using TodoApi.Models;

var builder = WebApplication.CreateBuilder(args);

builder.Services.AddControllers();
builder.Services.AddDbContext<DataContext>(opt =>
    opt.UseSqlite(@"Data Source=./mydb.db"));
builder.Services.AddEndpointsApiExplorer();
builder.Services.AddSwaggerGen();

var app = builder.Build();

if (app.Environment.IsDevelopment())
{
    app.UseSwagger();
    app.UseSwaggerUI();
}

app.UseHttpsRedirection();

app.UseAuthorization();

app.MapControllers();

app.Run();

💡 Now the DataContext is available for depenceny-injection, making it very easy for controllers and services to access it. Addionally, we added a Connection String for the database.

Creating a controller

Create the controller file.

touch Controllers/TodoItemController.cs

Copy & paste the initial code:

using Microsoft.AspNetCore.Mvc;

namespace TodoApi.Controllers;

[ApiController]
[Route("[controller]")]
public class TodoItemController : ControllerBase
{

}

This is our initial code, now lets make sure to add the DataContext to the primary constructor (which is a new feature in C# 12, btw.)

using Microsoft.AspNetCore.Mvc;
using Microsoft.EntityFrameworkCore;
using TodoApi.Models;

namespace TodoApi.Controllers;

[ApiController]
[Route("[controller]")]
public class TodoItemController(DataContext dataContext) : ControllerBase
{
    private readonly DataContext _dataContext = dataContext;
}

Let’s add some endpoints, this code goes inside the class.

[HttpGet("{itemId}")]
public async Task<ActionResult<TodoItem>> GetTodoItemById(long itemId)
{
    var item = await _dataContext.TodoItems.FirstOrDefaultAsync((x) => x.Id == itemId);

    if (item is null) {
        return NotFound();
    }

    return item;
}

[HttpPost]
public async Task<ActionResult<TodoItem>> PostTodoItem(TodoItem item) {
    await _dataContext.TodoItems.AddAsync(item);

    await _dataContext.SaveChangesAsync();

    return CreatedAtAction(nameof(GetTodoItemById), new { itemId = item.Id }, item);
}

💡 The first endpoint is for querying an Item using an Id, and the second item is for creating a new item.

Before we can test this endpoints, we need to update our database and create the first migration:

dotnet tool install --global dotnet-ef
dotnet ef migrations add InitialCreate
dotnet ef database update

💡 This created our initial database schema and migration, now our app is ready to use the database.

Open two consoles, on the first one run the api:

dotnet run

Take notice of the port it is running, in my case it is 5019, but it varies on project creation.
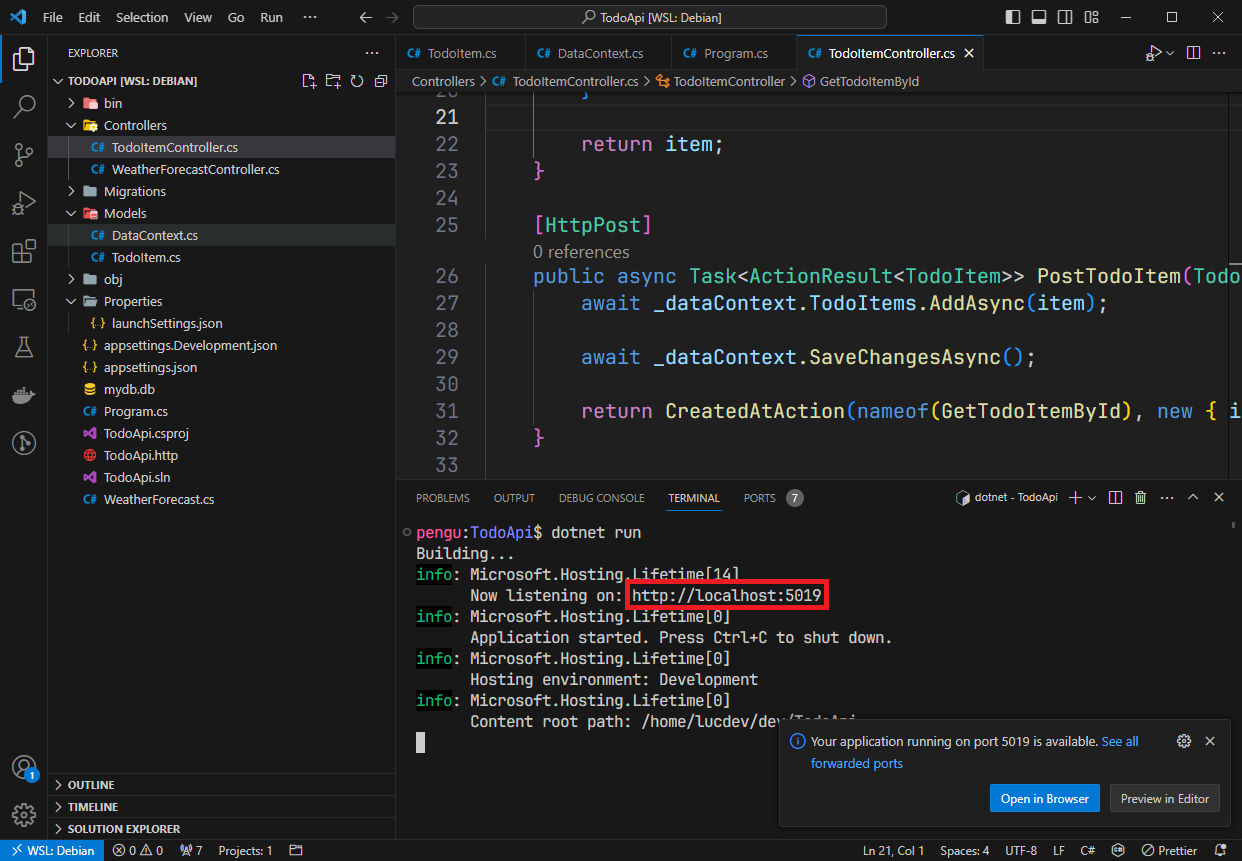
Visual Studio showing that the Api is running on port 5019

Notice: When the testing ends, press Control+C (or ⌘+C on Apple computers) to stop the Api.

On the other one, we are gonna use curl to send a request:

curl -X POST -H "Content-Type: application/json" \
-d '{"id": 0, "name": "Test the post TodoItem endpoint", "isComplete": true}' http://localhost:5019/TodoItem

If everything is successful, we should get a response that looks similar to this:

{
  "id": 3,
  "name": "Test the post TodoItem endpoint",
  "isComplete": true
}

Take note of the id, so we can test the GET endpoint, just to make sure:

curl http://localhost:5019/TodoItem/3

Should print the same response.

Adding Validations

The moment you been waiting for

First we will create a validator for our TodoItem entity:

mkdir Models/Validators
touch Models/Validators/TodoItemValidator.cs

Copy-paste the following code:

using FluentValidation;

namespace TodoApi.Models.Validators;

public class TodoItemValidator : AbstractValidator<TodoItem>
{
    public TodoItemValidator()
    {
        RuleFor(x => x.Name).MinimumLength(10);
    }
}

💡 What this class does is validate the Entity TodoItem and checks that the field Name has a minimum length of 10 characters.

Now that we have a validator, we need to register it to the dependency-injection system that ASP.NET uses, the package we installed before SharpGrip.FluentValidation.AutoValidation.Mvc requires all validations to be registered.

For now we only have one, but this can quickly scale to 10 or more than 100 depending on how big our program is.

Luckily, I came up with a solution using reflection, for this we are gona create an extension class.

mkdir Extensions
touch Extensions/FluentValidationExtension.cs

Copy paste the following code:

using System.Reflection;
using SharpGrip.FluentValidation.AutoValidation.Mvc.Extensions;
using FluentValidation;

namespace TodoApi.Extensions;

public static partial class ServiceCollectionExtensions
{
    public static IServiceCollection AddFluentValidation(
        this IServiceCollection services,
        string namespaceName
    )
    {
        var typesInNamespace = Assembly
            .GetExecutingAssembly()
            .GetTypes()
            .Where(
                type =>
                    type.Namespace is not null
                    && type.Namespace.StartsWith(namespaceName)
                    && !type.IsAbstract
                    && !type.IsInterface
                    && type.Name.EndsWith("Validator")
            );

        // Iterate through the types and register them with the service collection
        foreach (var type in typesInNamespace)
        {
            // Find the implemented interface IValidator<T>
            var validatorInterface = type.GetInterfaces()
                .FirstOrDefault(
                    i => i.IsGenericType && i.GetGenericTypeDefinition() == typeof(IValidator<>)
                );

            // If the type implements IValidator<T>, register it with the service collection
            if (validatorInterface is not null)
            {
                var genericArgument = validatorInterface.GetGenericArguments()[0];
                var serviceType = typeof(IValidator<>).MakeGenericType(genericArgument);
                services.AddScoped(serviceType, type);
            }
        }

        services.AddFluentValidationAutoValidation();

        return services;
    }
}

What this code does exactly:

To use this extension lets change our Program.cs

using Microsoft.EntityFrameworkCore;
using TodoApi.Models;
using TodoApi.Extensions;

var builder = WebApplication.CreateBuilder(args);

builder.Services.AddControllers();
builder.Services.AddDbContext<DataContext>(opt =>
    opt.UseSqlite(@"Data Source=./mydb.db"));
builder.Services.AddEndpointsApiExplorer();
builder.Services.AddSwaggerGen();
builder.Services.AddFluentValidation("TodoApi.Models.Validators");

var app = builder.Build();

if (app.Environment.IsDevelopment())
{
    app.UseSwagger();
    app.UseSwaggerUI();
}

app.UseHttpsRedirection();

app.UseAuthorization();

app.MapControllers();

app.Run();

Notice this changes:

Let’s try it out, as usual start the api:

dotnet run

And let’s use curl to create another TodoItem, this time it will have a short item name:

curl -X POST -H "Content-Type: application/json" \
-d '{"id": 0, "name": "short", "isComplete": false}' http://localhost:5019/TodoItem

You should get this error:

{
  "type": "https://tools.ietf.org/html/rfc9110#section-15.5.1",
  "title": "One or more validation errors occurred.",
  "status": 400,
  "errors": {
    "Name": [
      "The length of 'Name' must be at least 10 characters. You entered 5 characters."
    ]
  },
  "traceId": "00-260592bd4ee8826b44bc7ec41694676c-36d44428bc31bf98-00"
}

Now let’s fix this error by creating a new item that satisfies our validation:

curl -X POST -H "Content-Type: application/json" \
-d '{"id": 0, "name": "Setup FluentValidation", "isComplete": true}' http://localhost:5019/TodoItem
{
  "id": 4,
  "name": "Setup FluentValidation",
  "isComplete": true
}

🎊 Congratulations, you just setup FluentValidation correctly.

You can create more validators as long as their namespace starts with TodoApi.Models.Validators.

Happy coding!

Tags:
  • dotnet
  • programming
Share on Mastodon
Share on X (Twitter)